


 I can't quite believe it - This is my 500th Blog Post.......TIME FOR BLOG CANDY I think!!!! Check back tomorrow.....
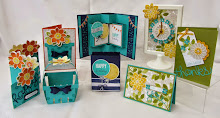
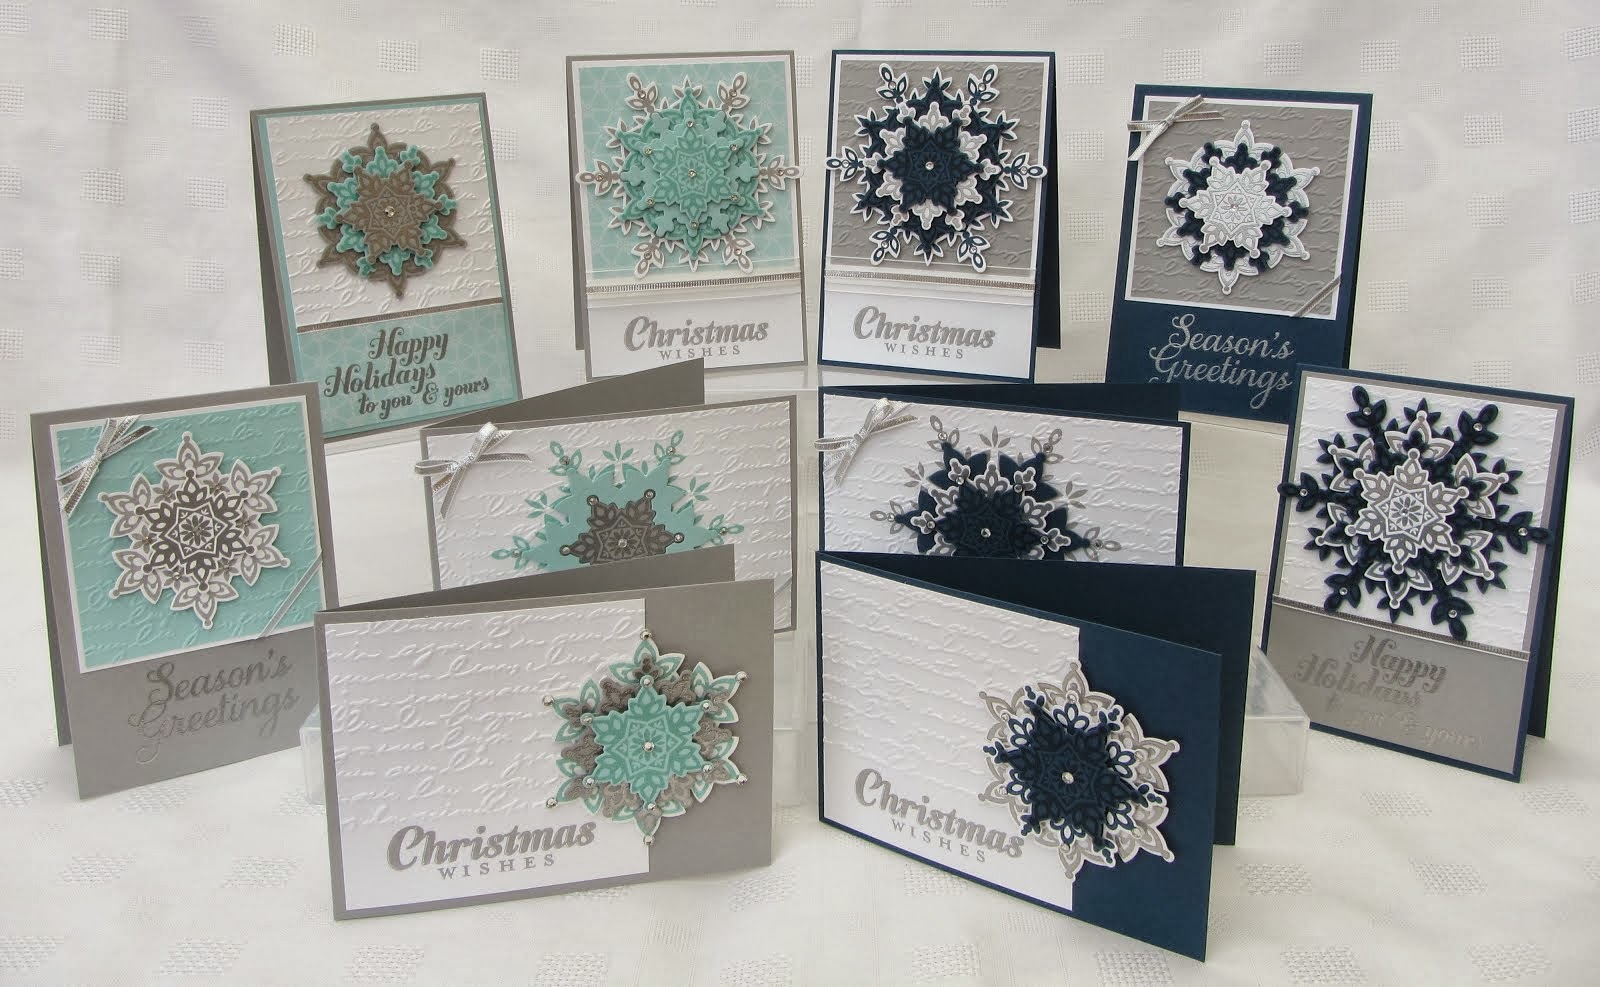
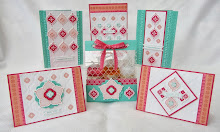
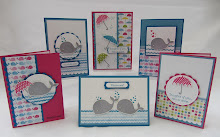
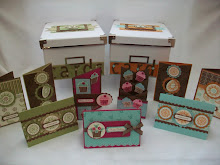
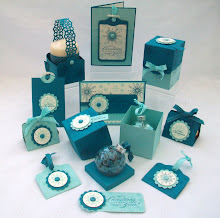
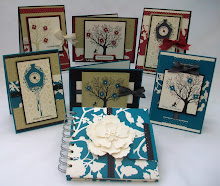
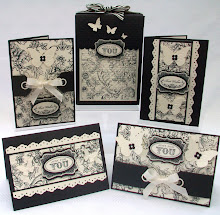
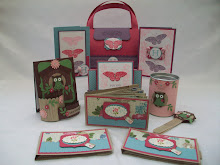
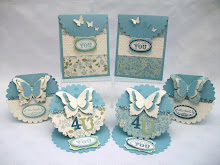
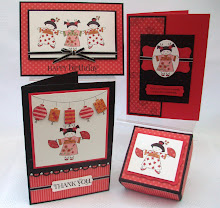
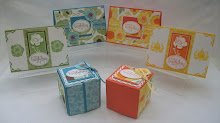
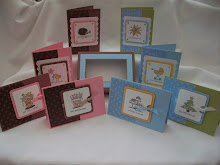
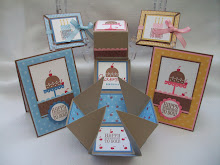
This was the project we made in todays Pocket Silhouette Class...
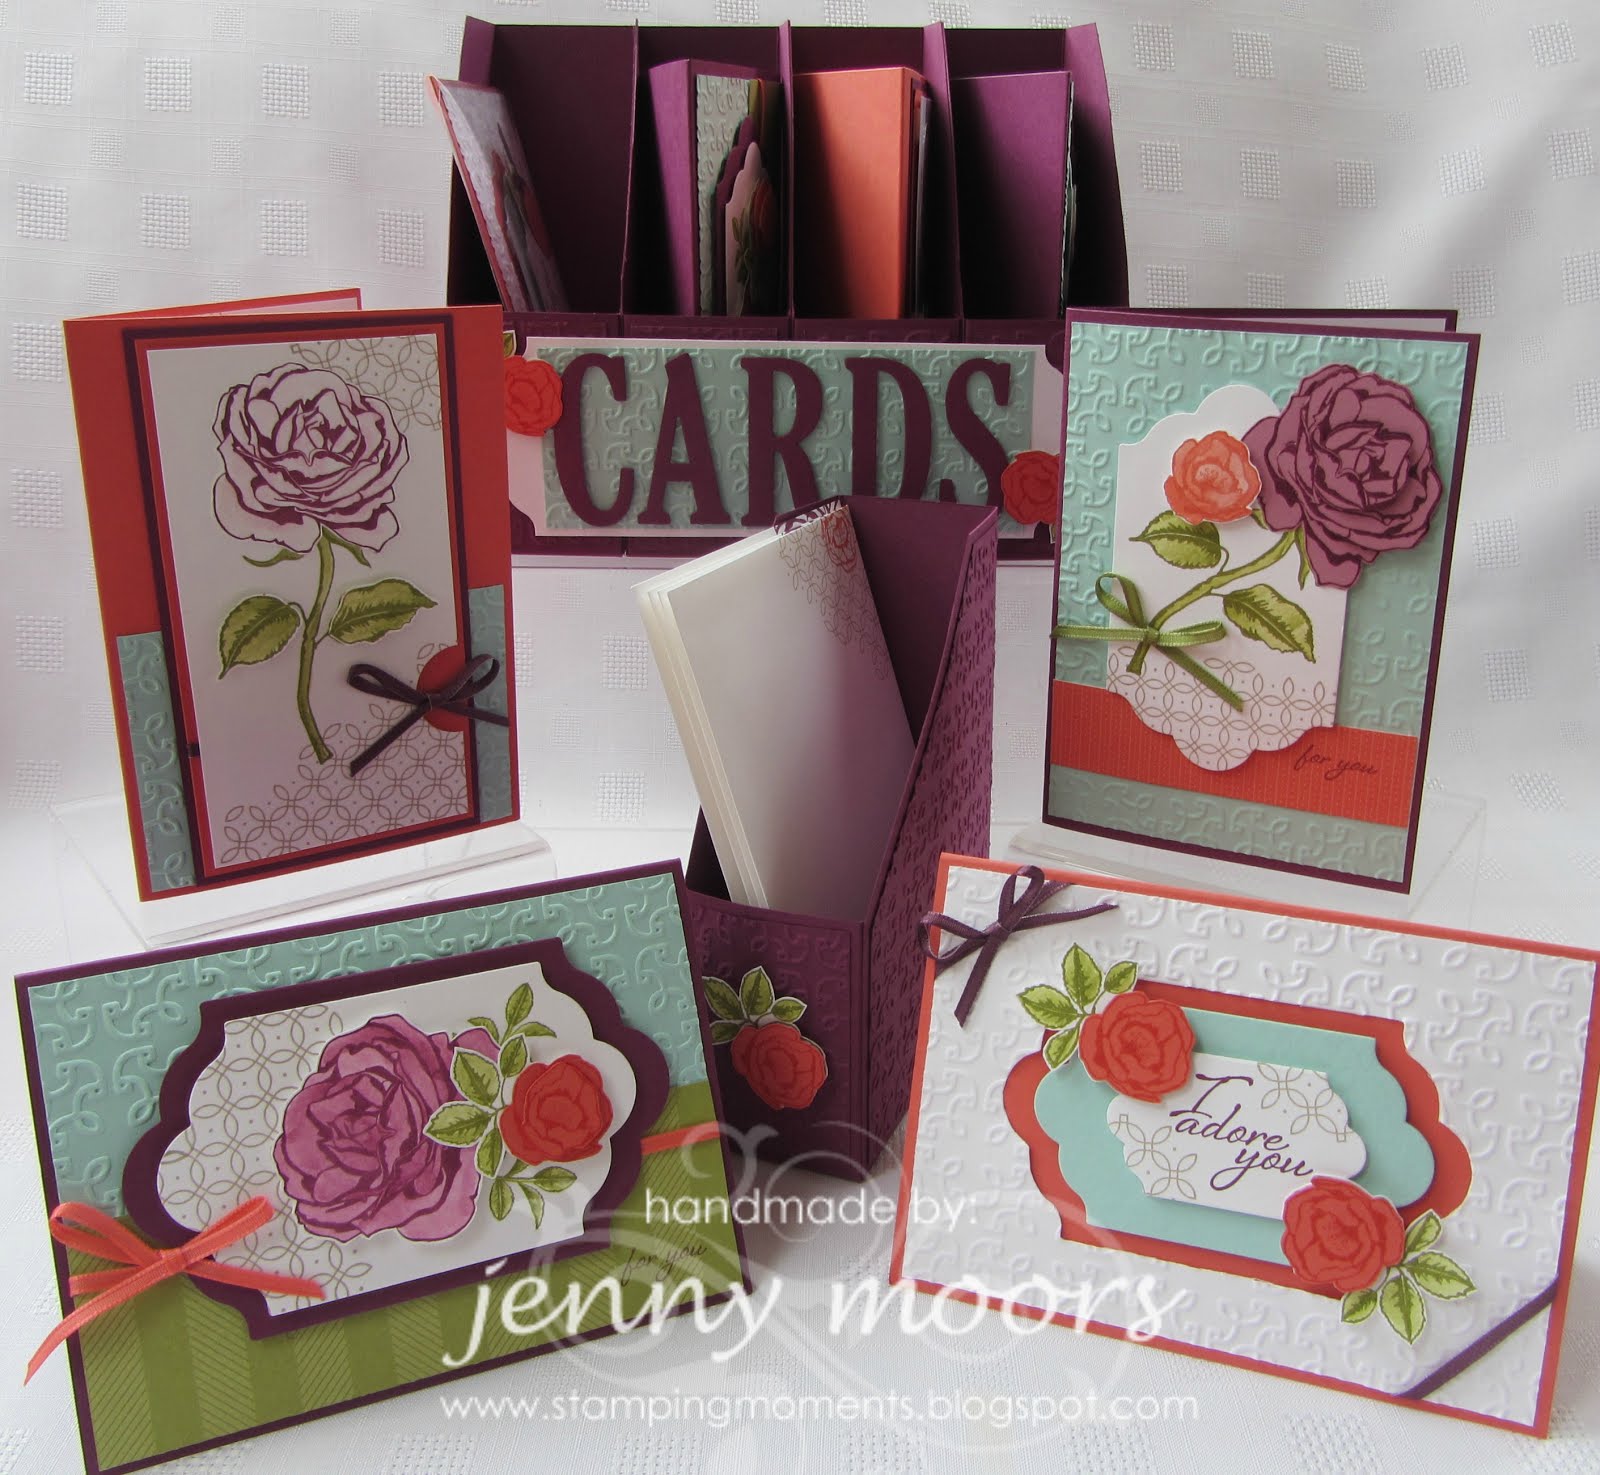
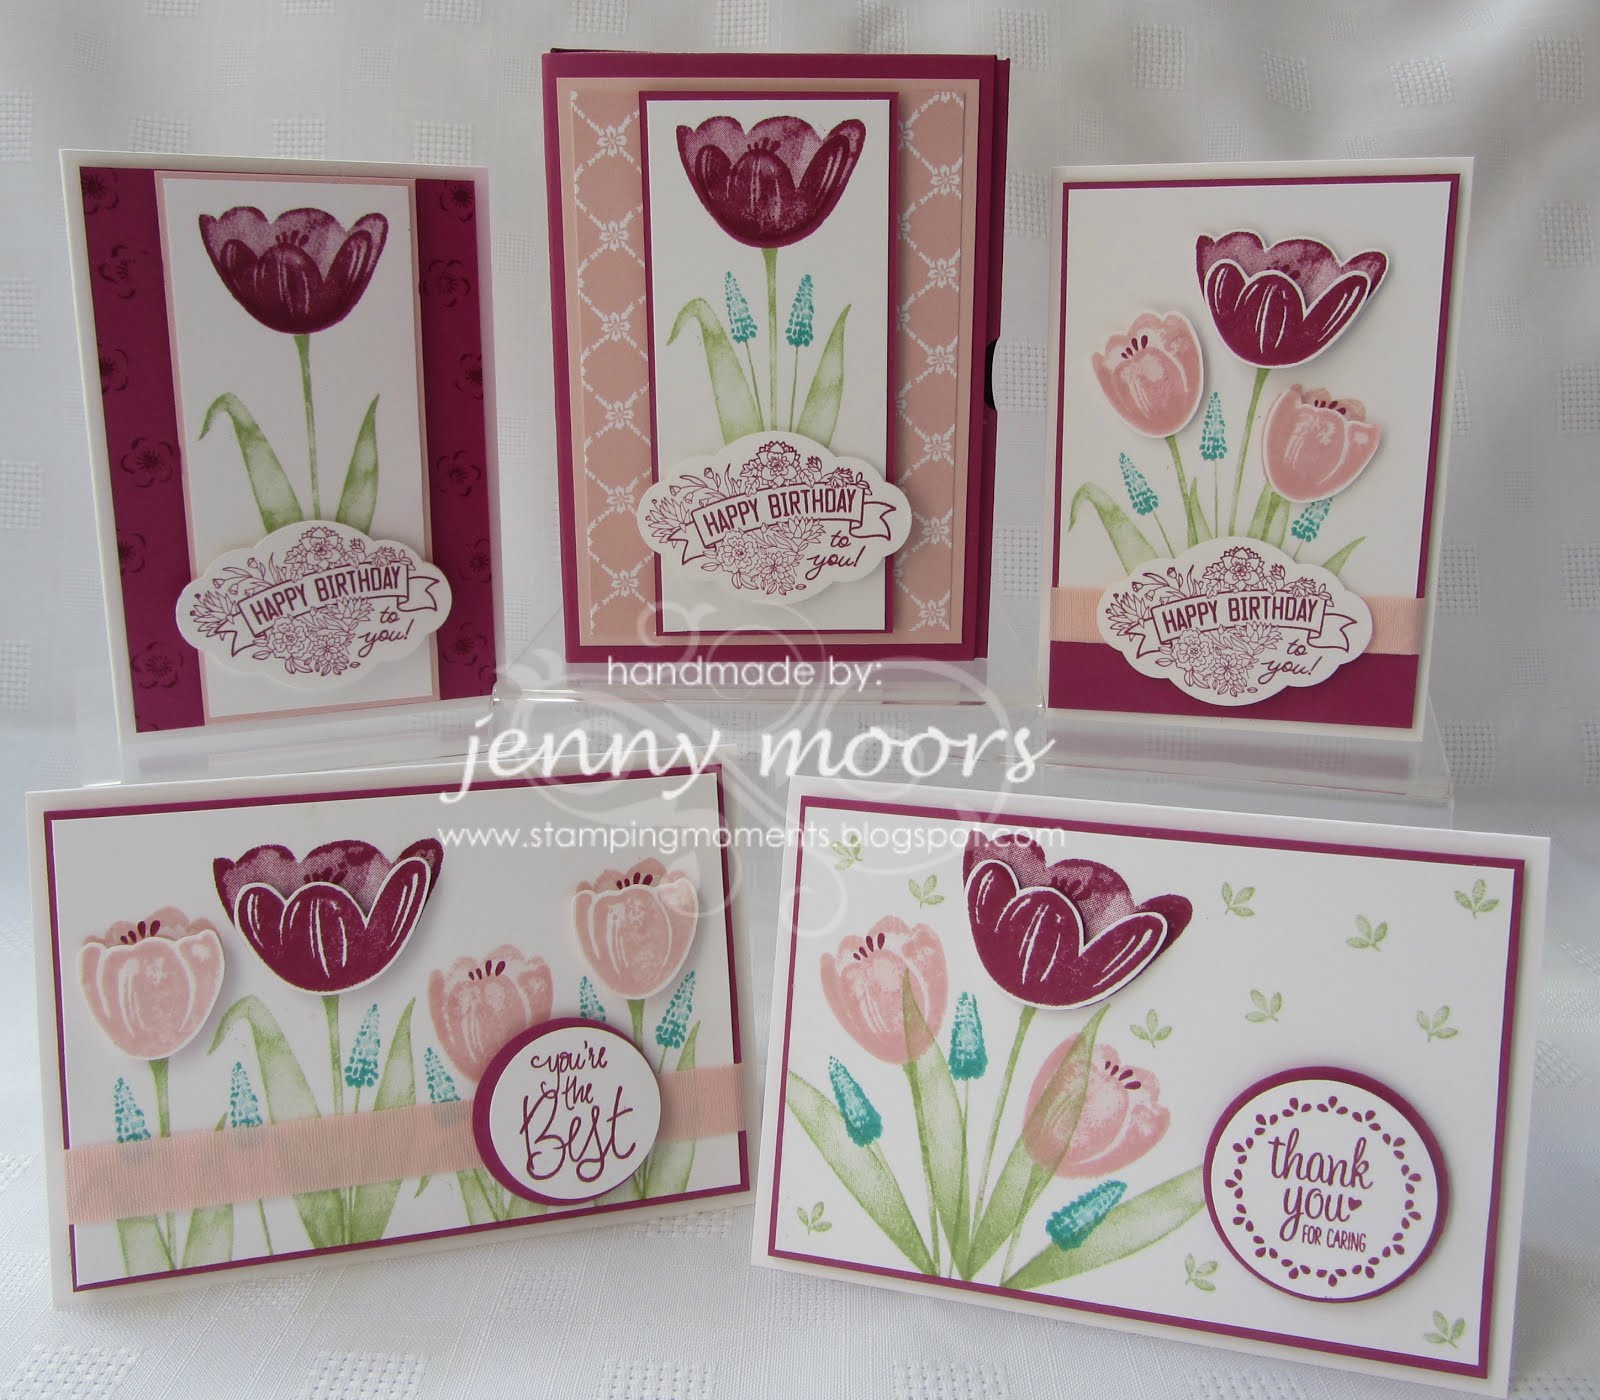
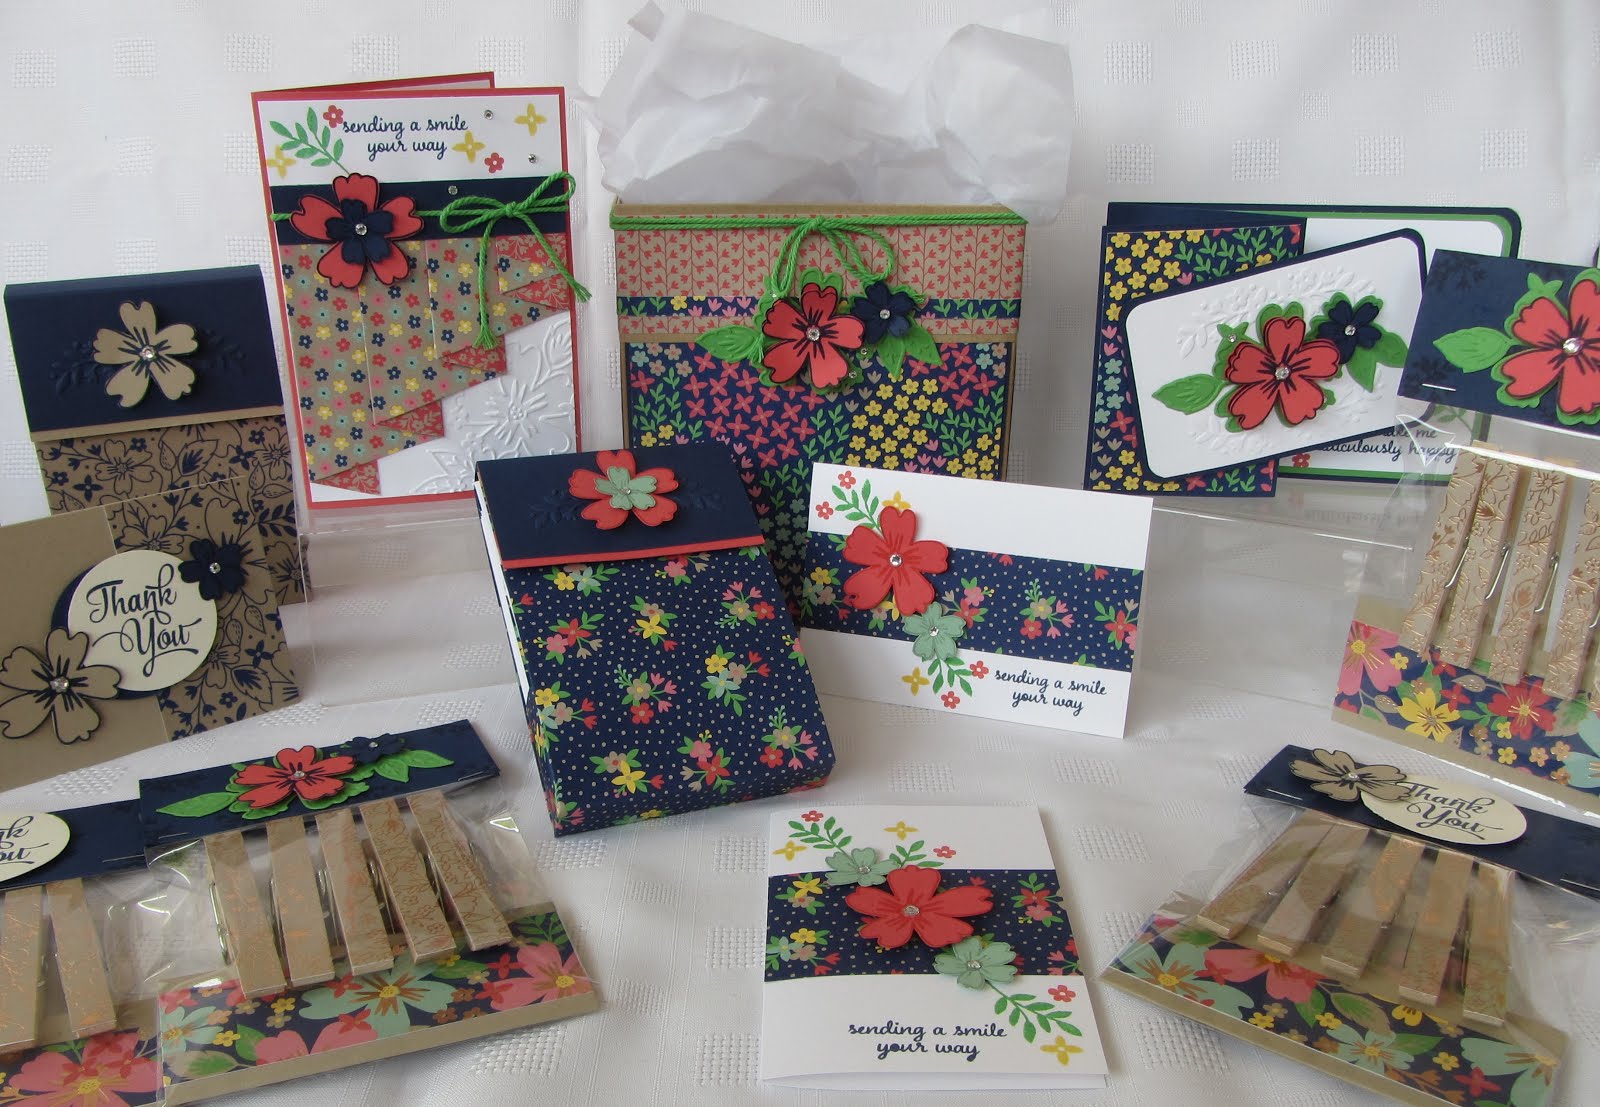
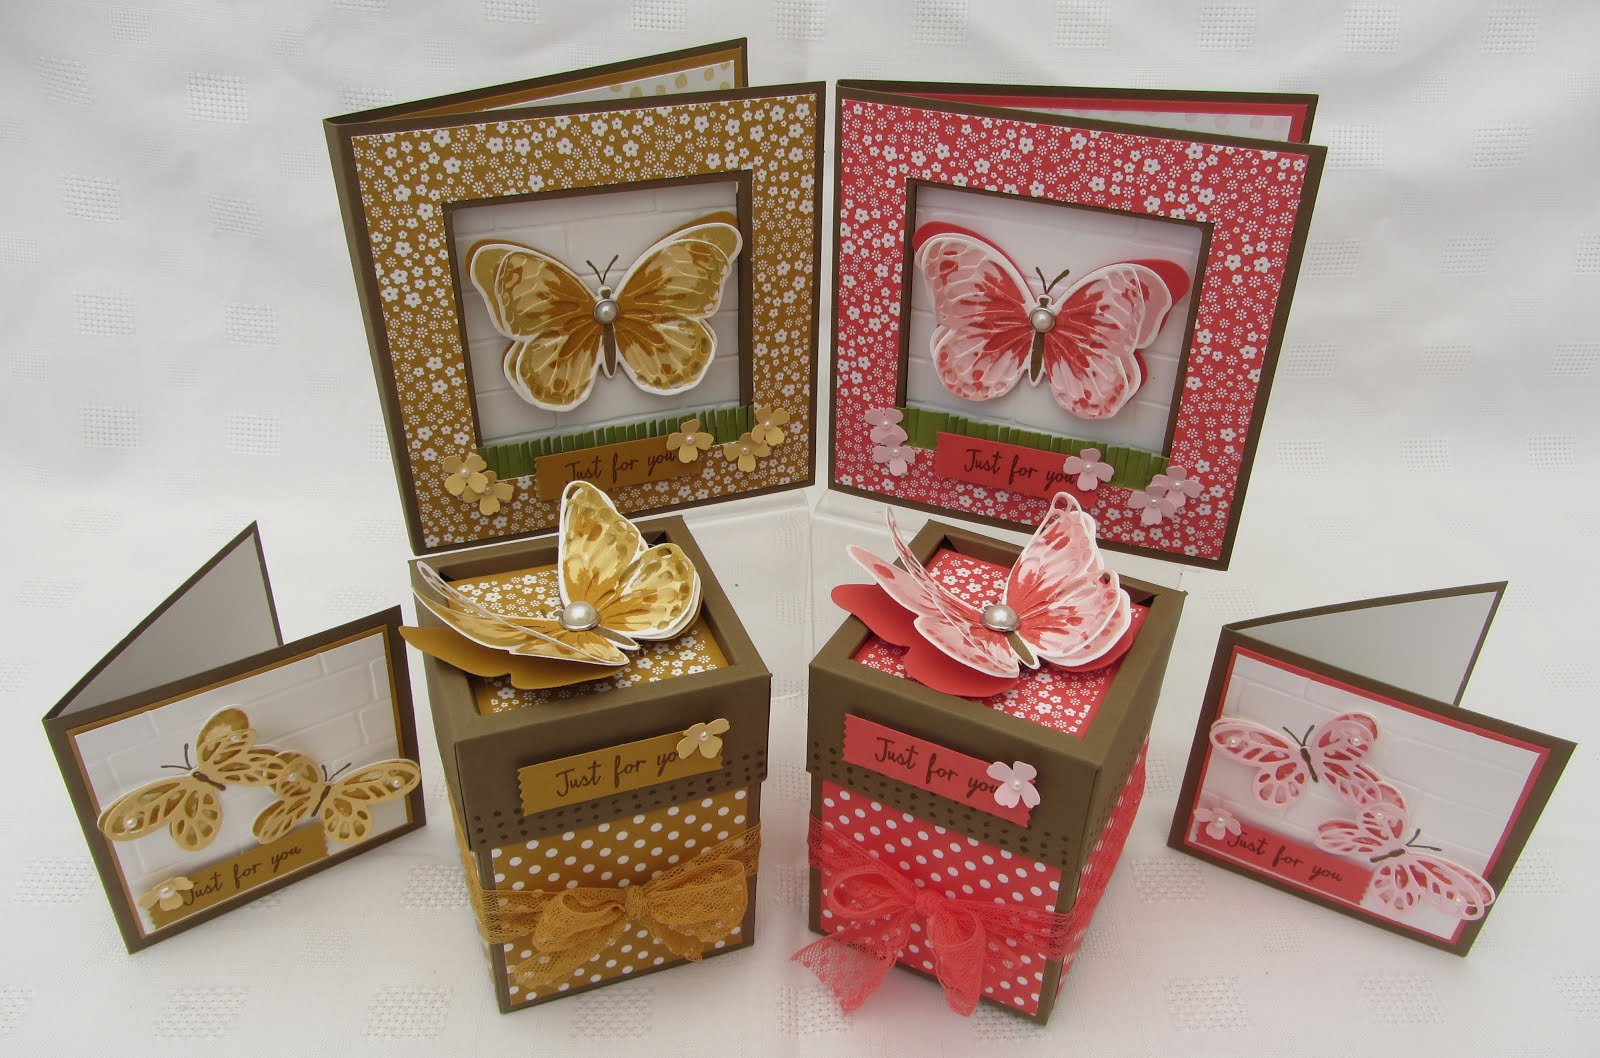
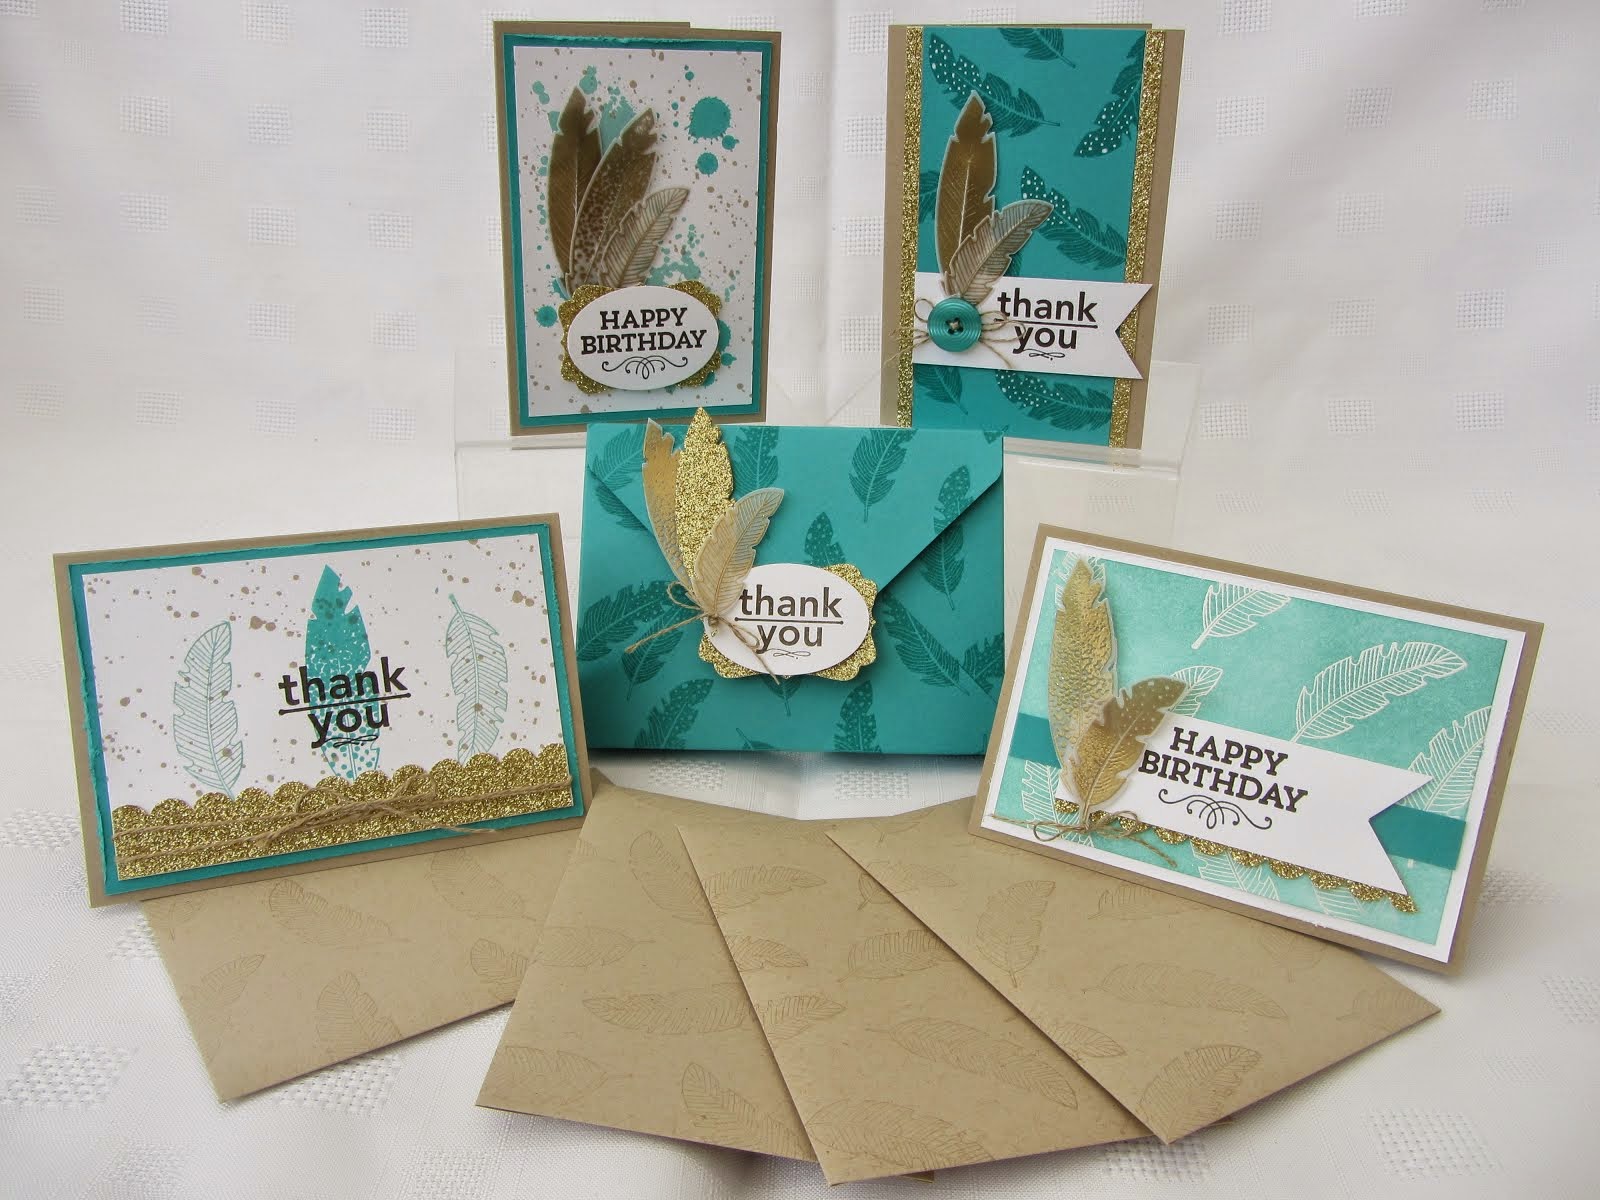
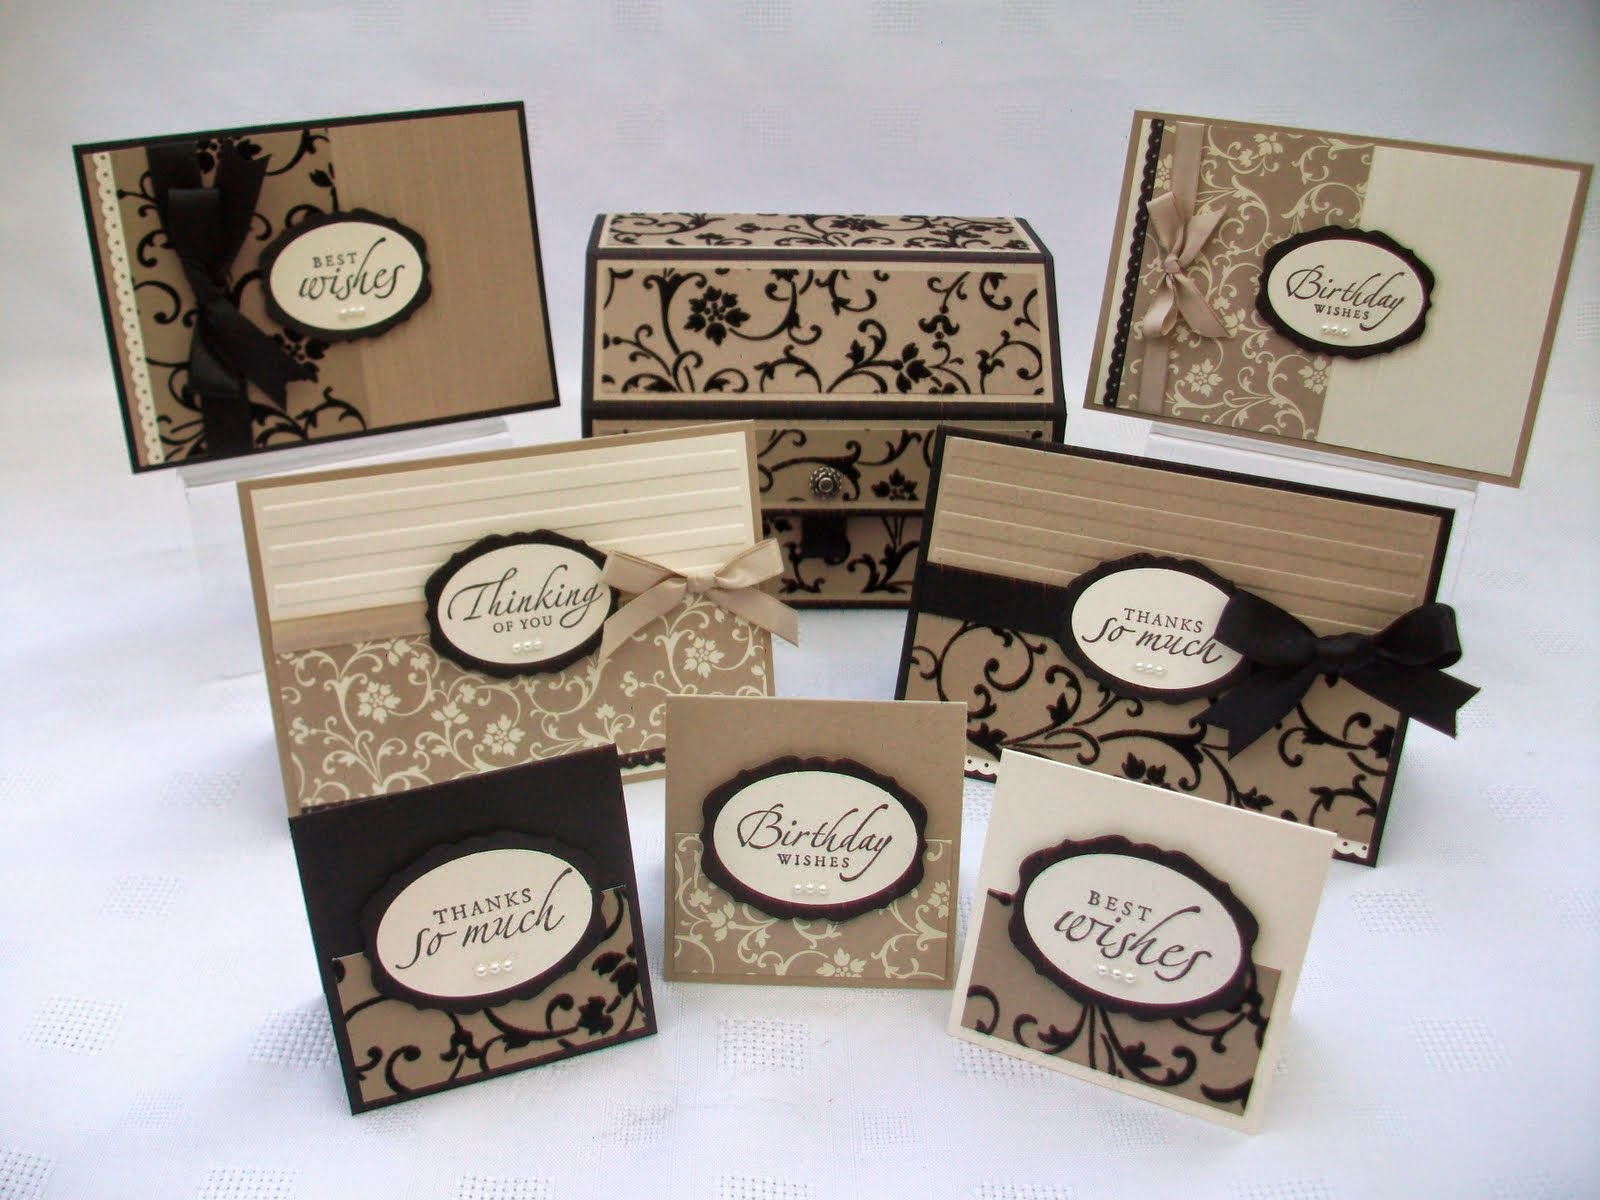
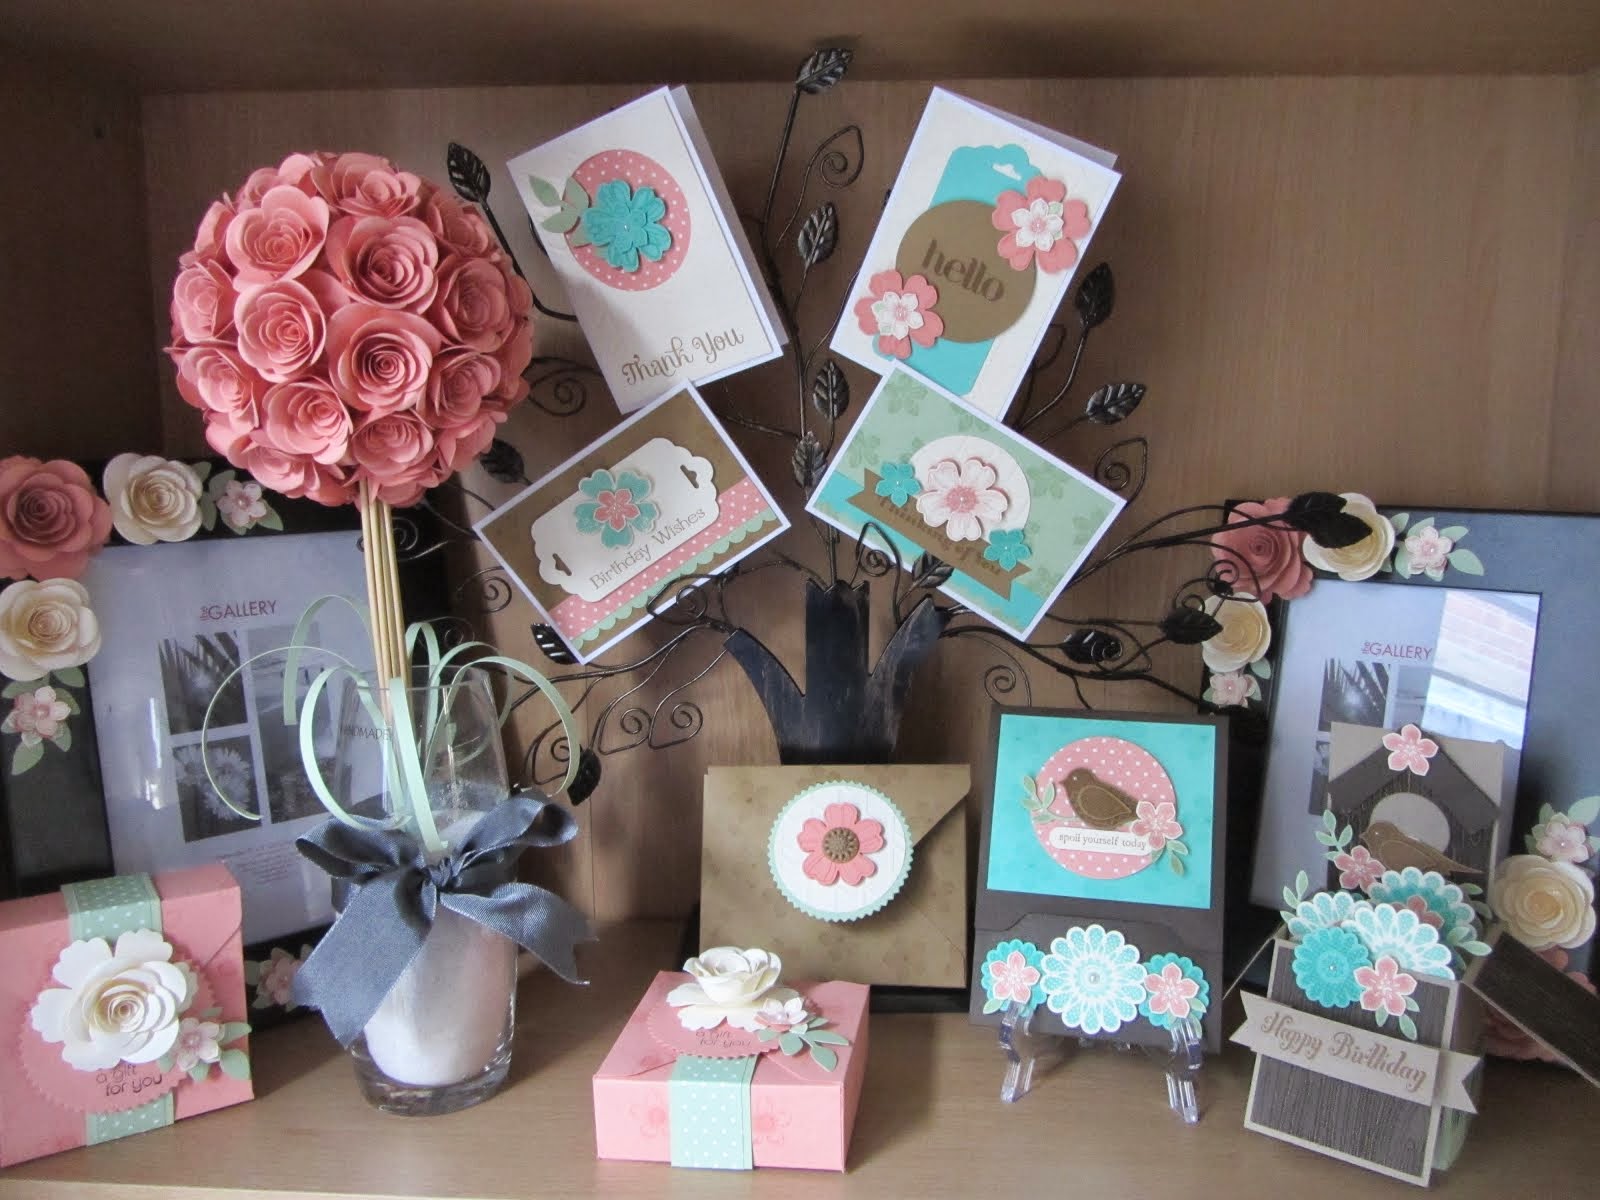
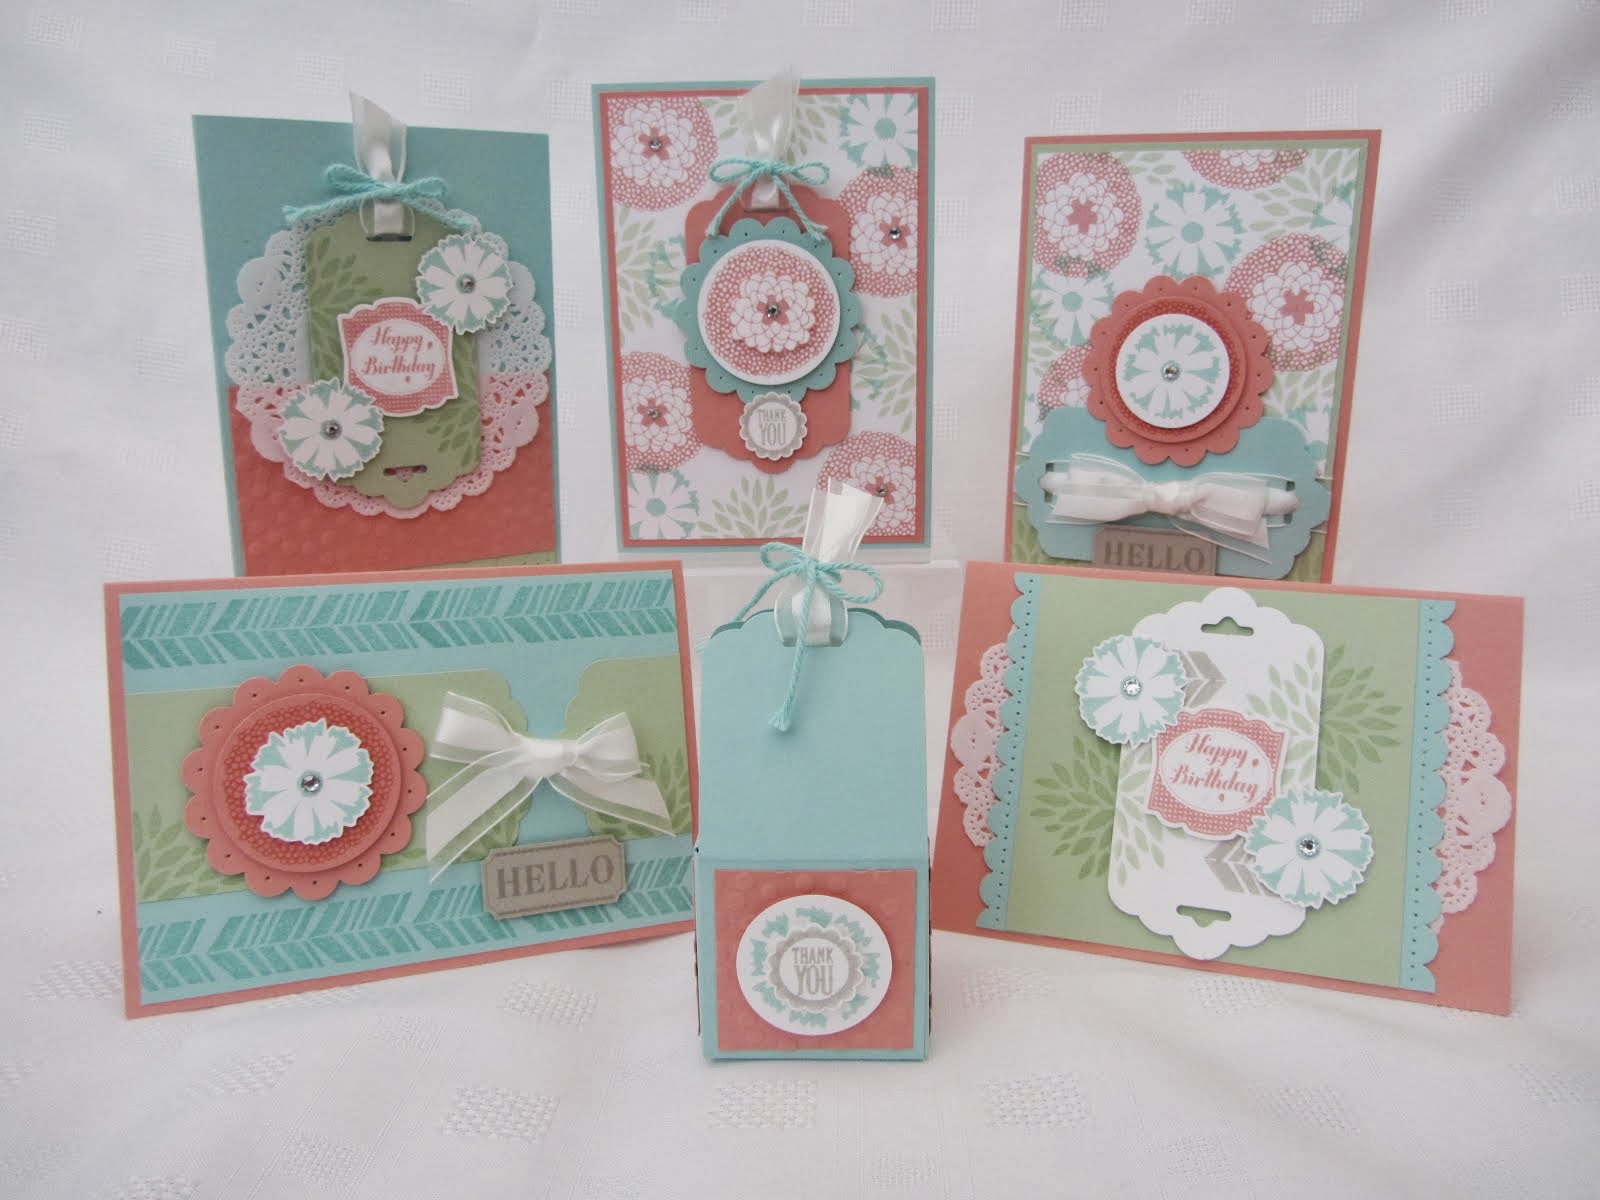
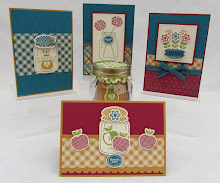
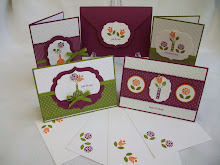
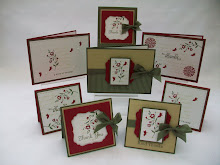
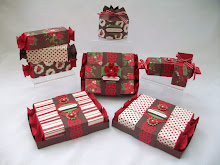
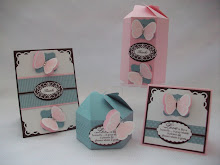
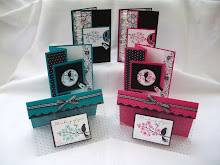
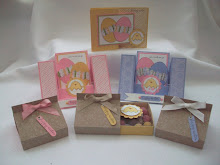
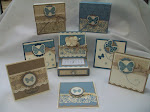
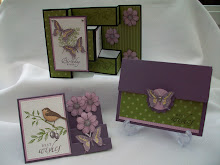
Its a cute little bag containing 3 cards and envelopes. The stamp set is Pocket Silhouettes, with Close to Cocoa, Taken with Teal, Chocolate Chip and Very Vanilla cardstock.
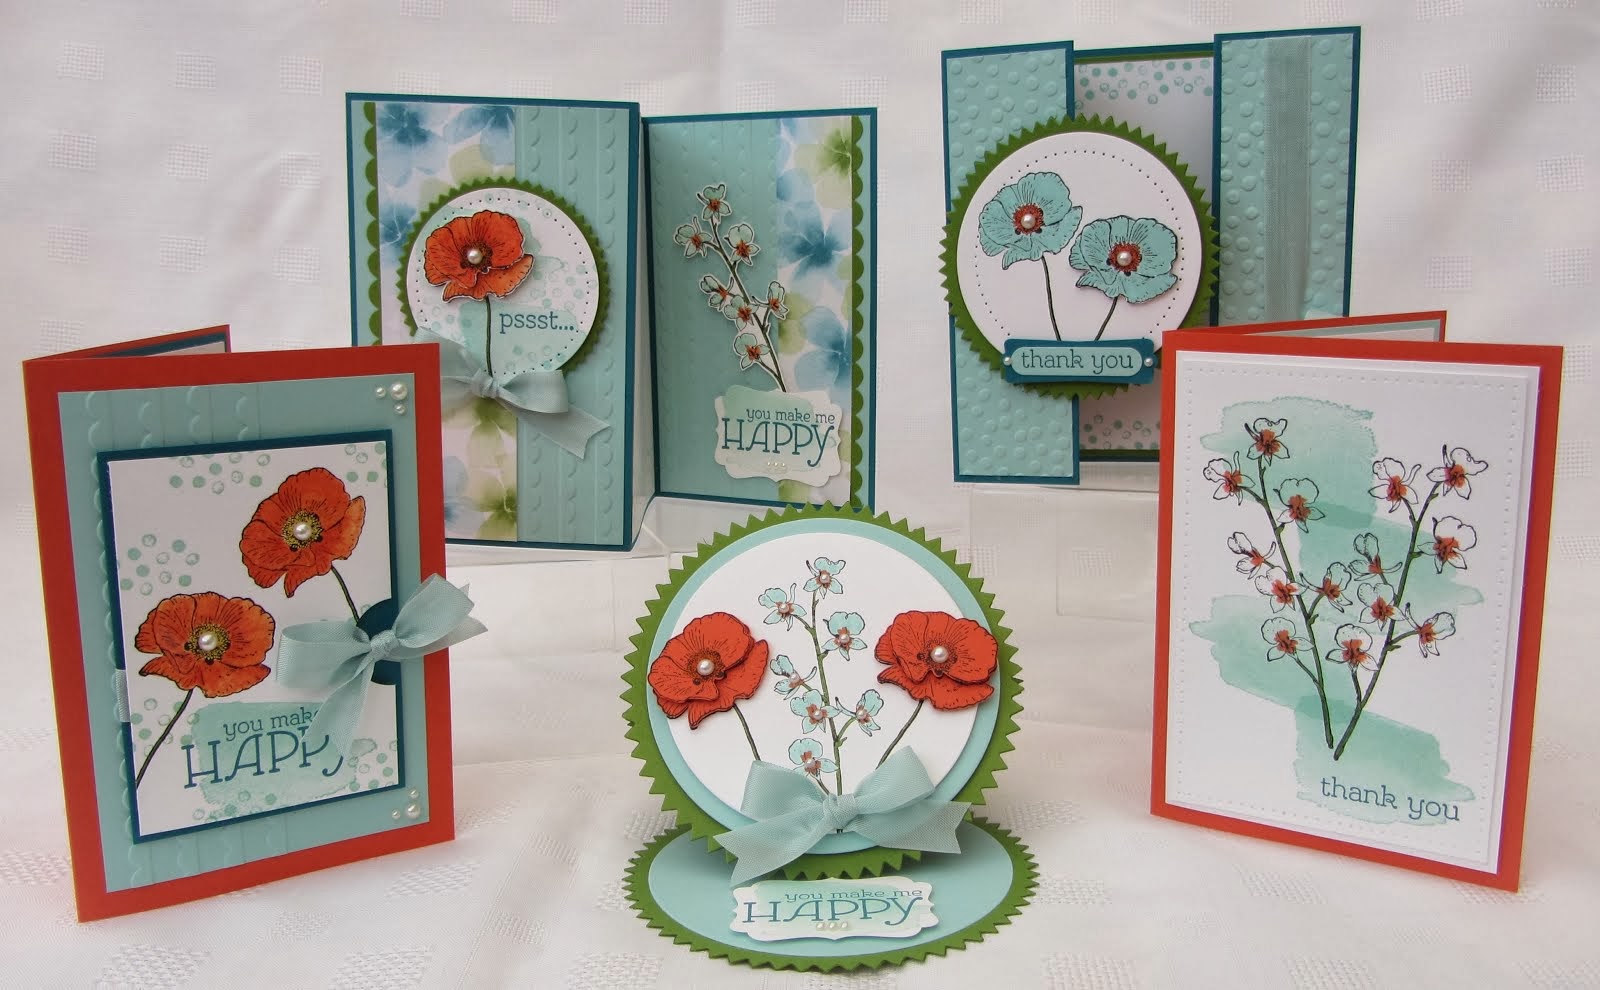
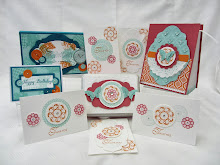
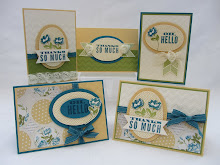
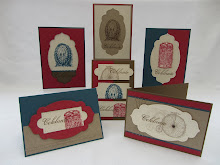
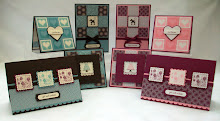
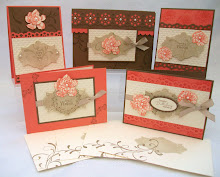
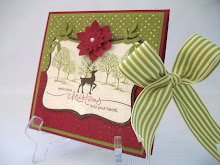
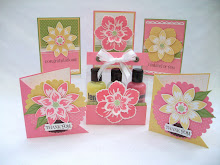
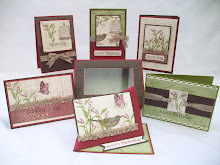
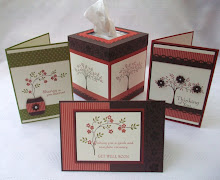
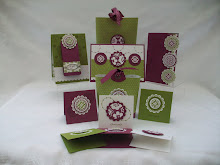
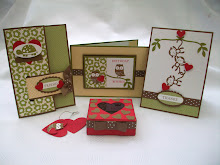
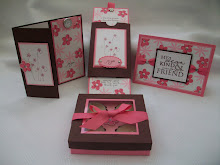
 This card uses Creamy Caramel cardstock for the centre image, where the silhouettes were stamped in Creamy Caramel and Taken with Teal. The square scallop punch was used to Spotlight one of the silhouettes in Taken with Teal.... A layer of Close to Cocoa was added, then some Very Vanilla grosgrain ribbon and a ribbon hodge podge, then a knot to finish it off! Add all this to a Taken with Teal base card.
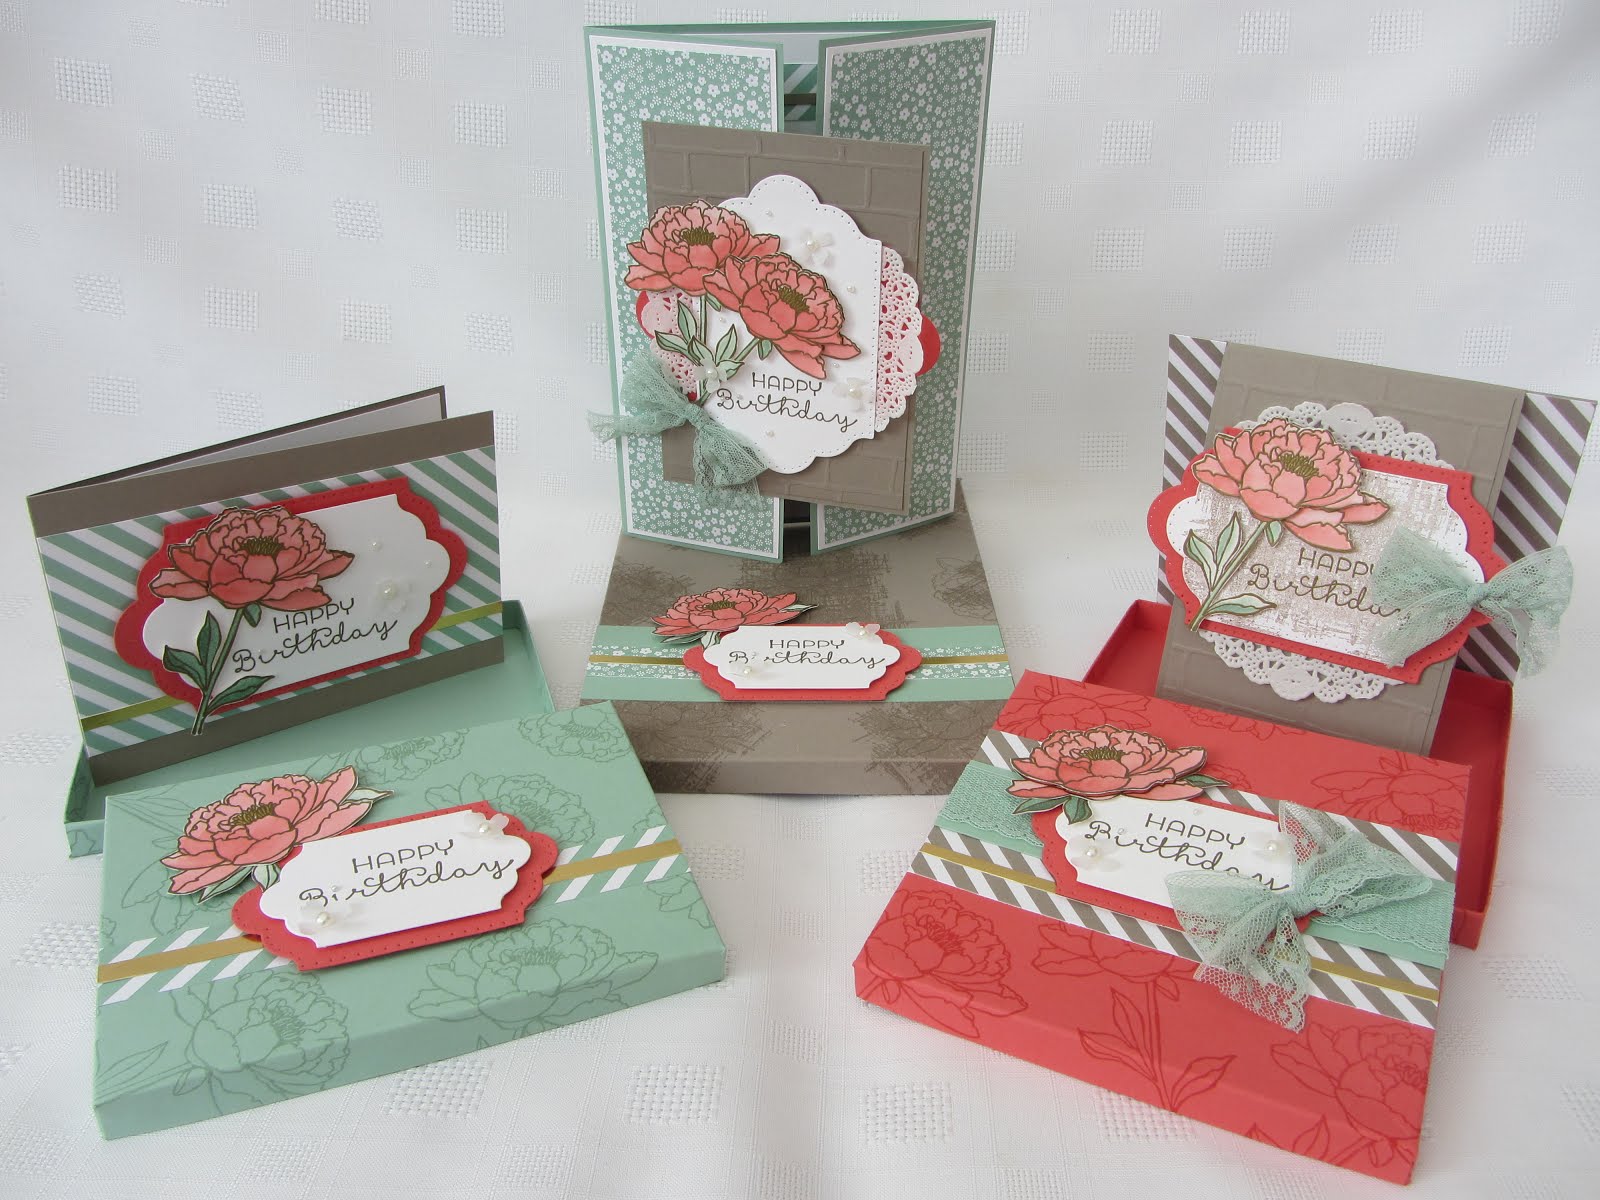
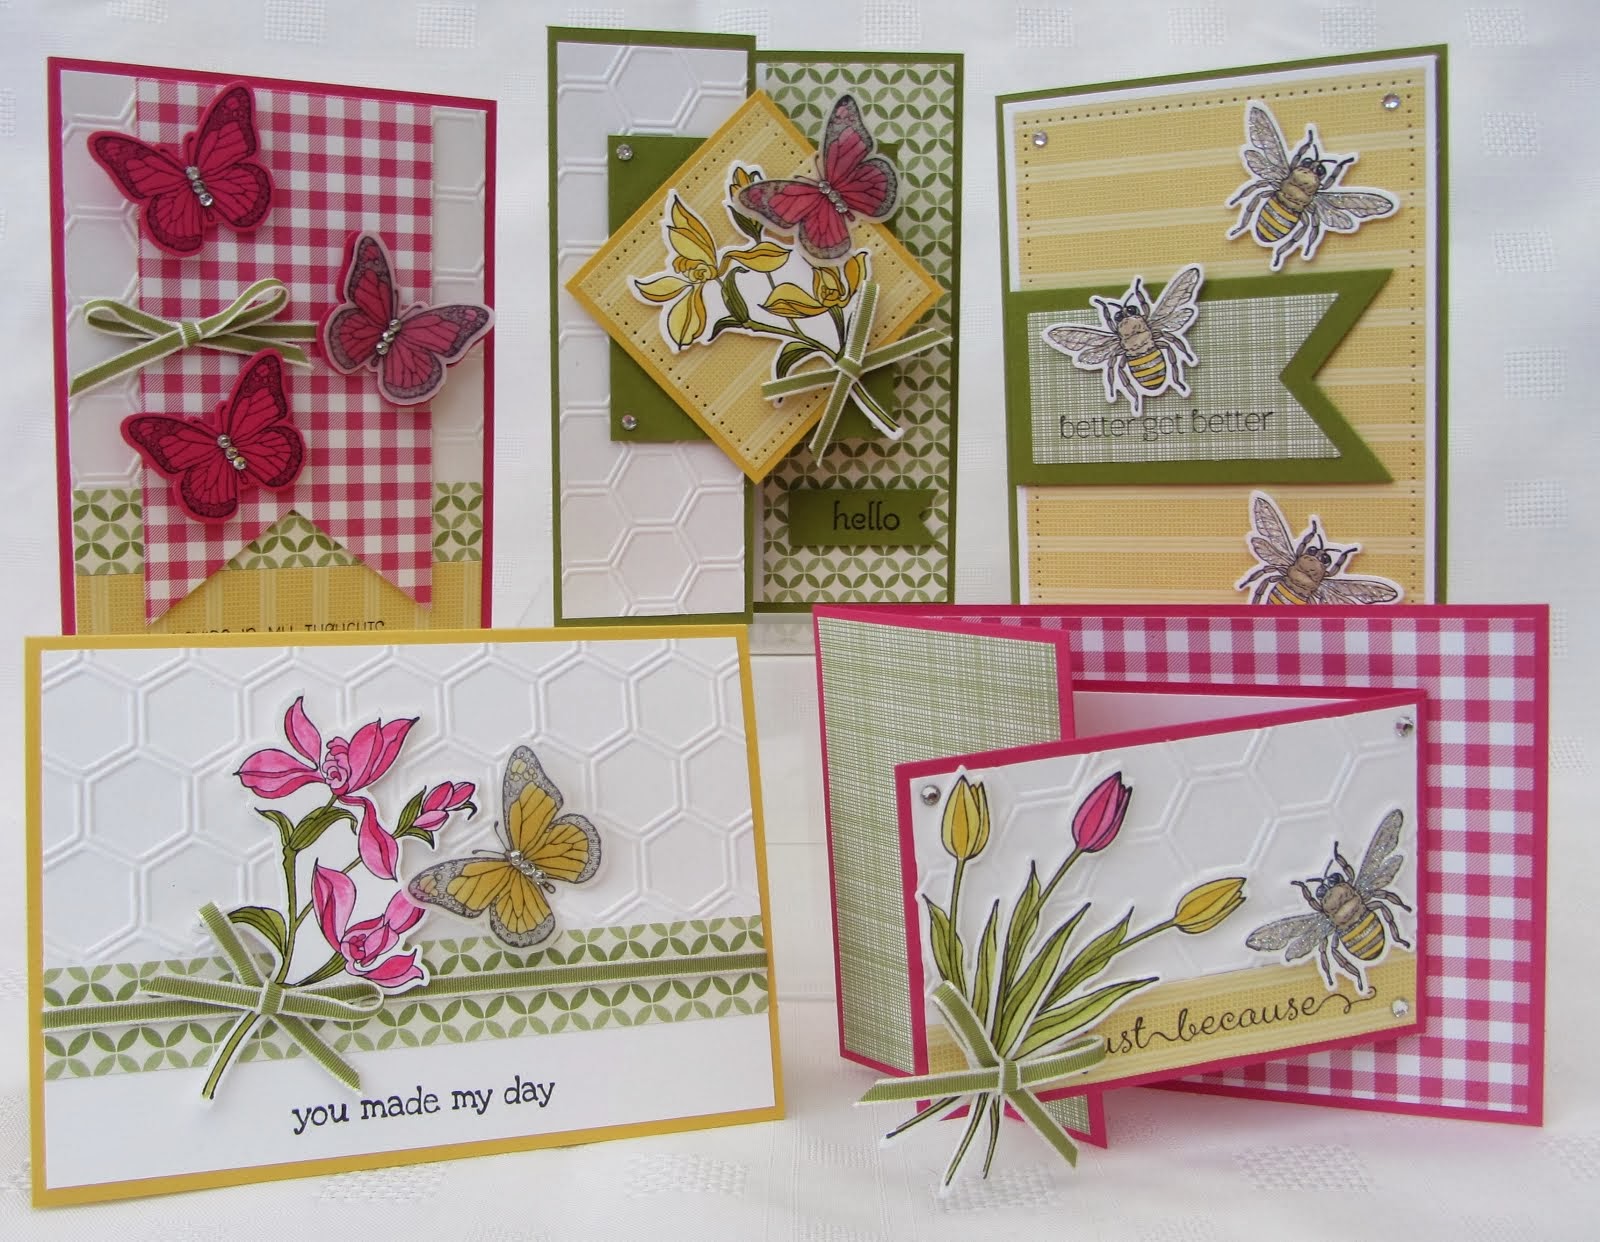
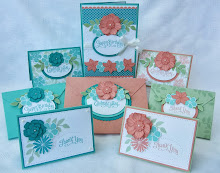
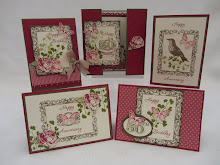
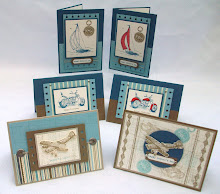
 The base card is Close to Cocoa, Chocolate Chip designer paper is used on this card. Again the scallop square punch was used to pop up the sprays of flowers and the sentiment was added directly to the card. The scallop edge border punch was used down just one side on the Taken with Teal layer.
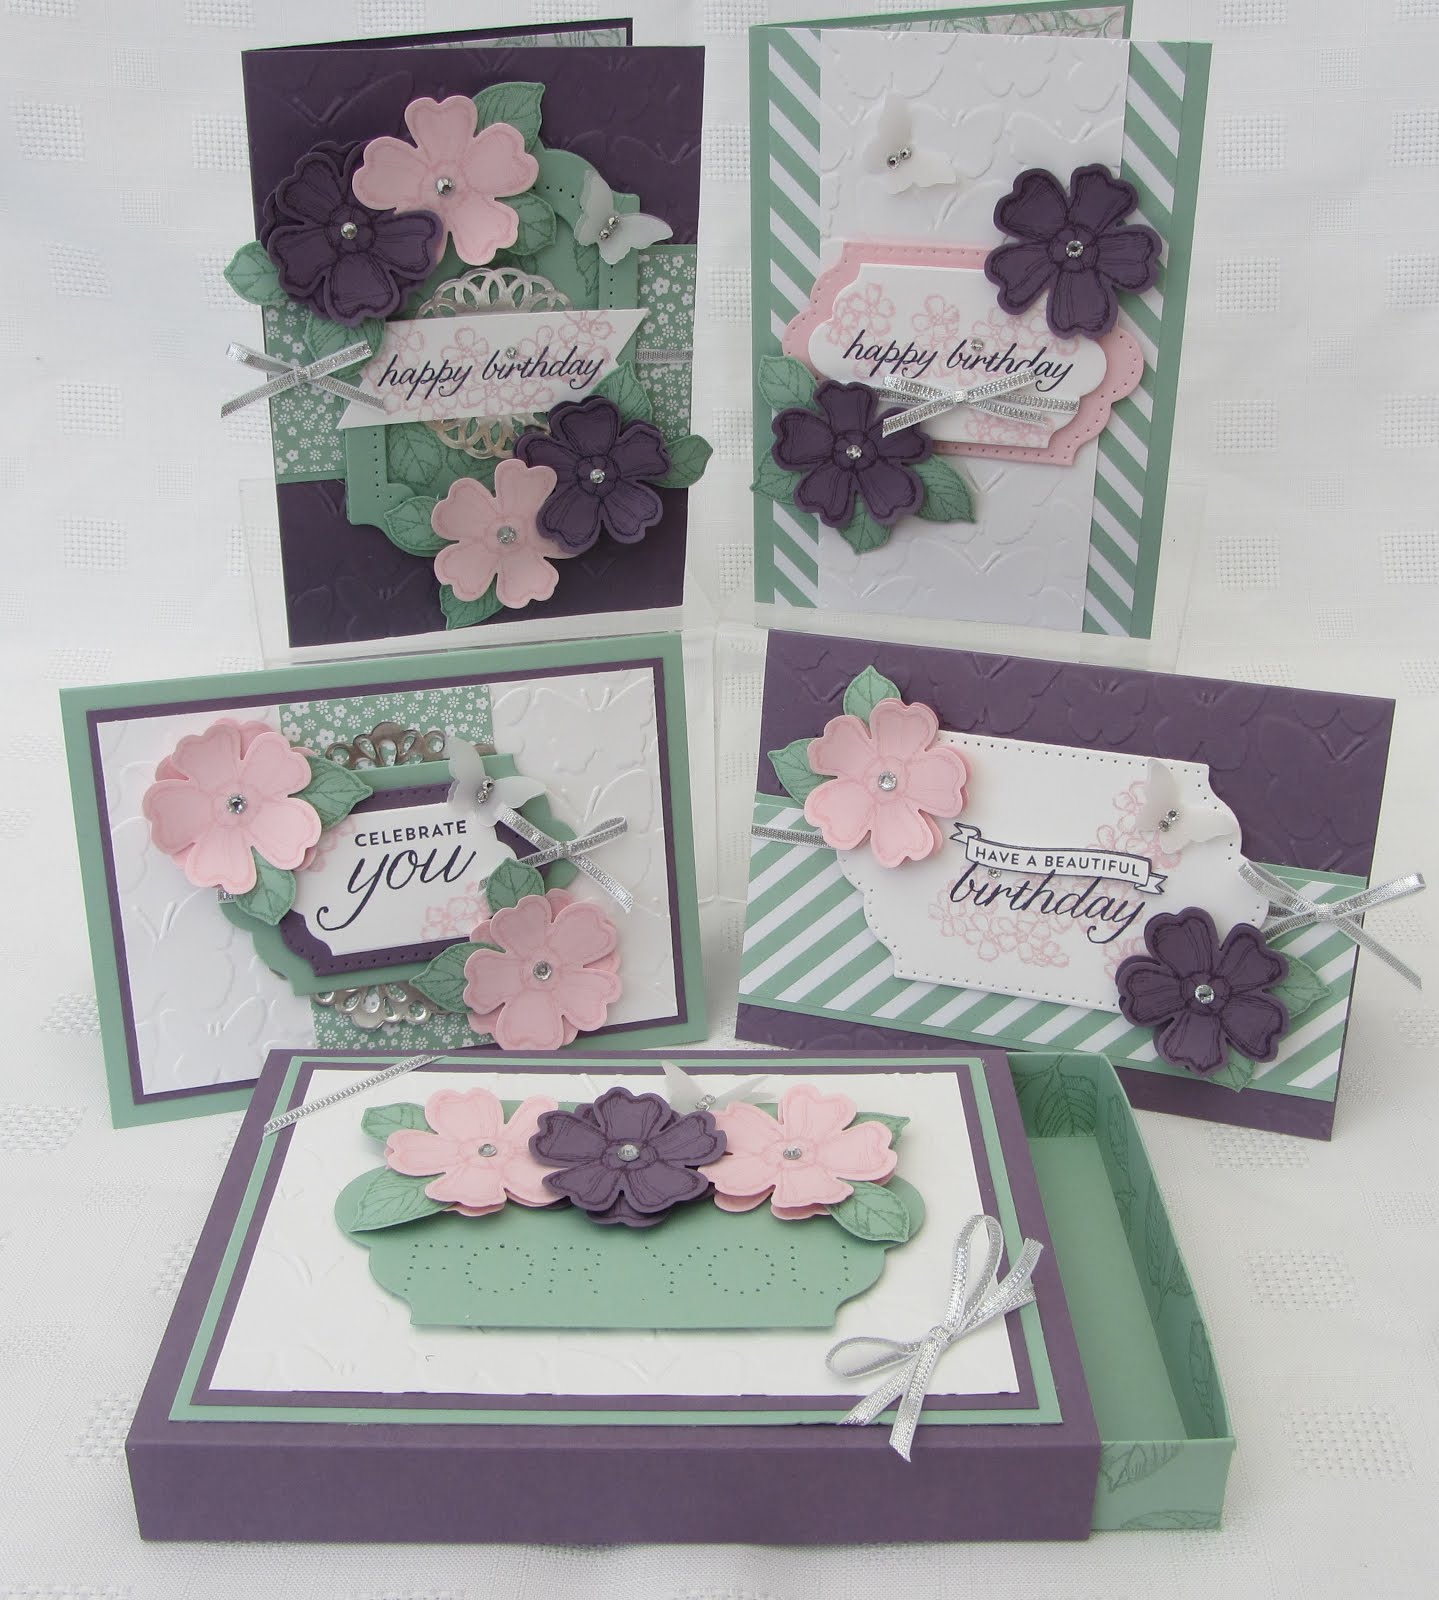
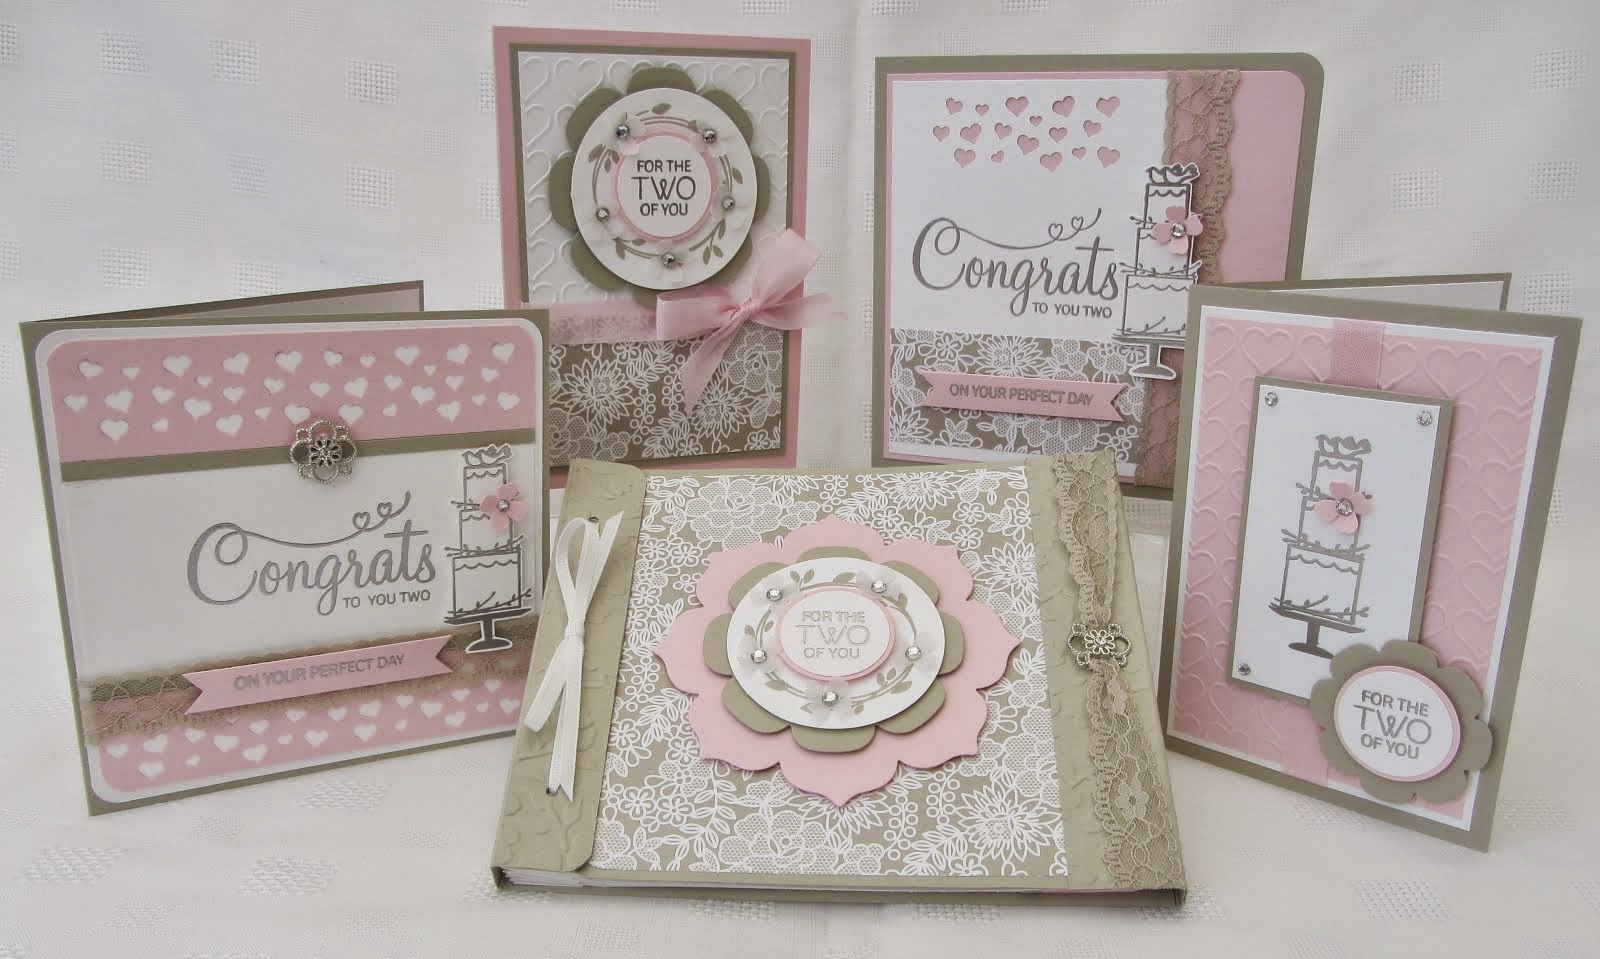
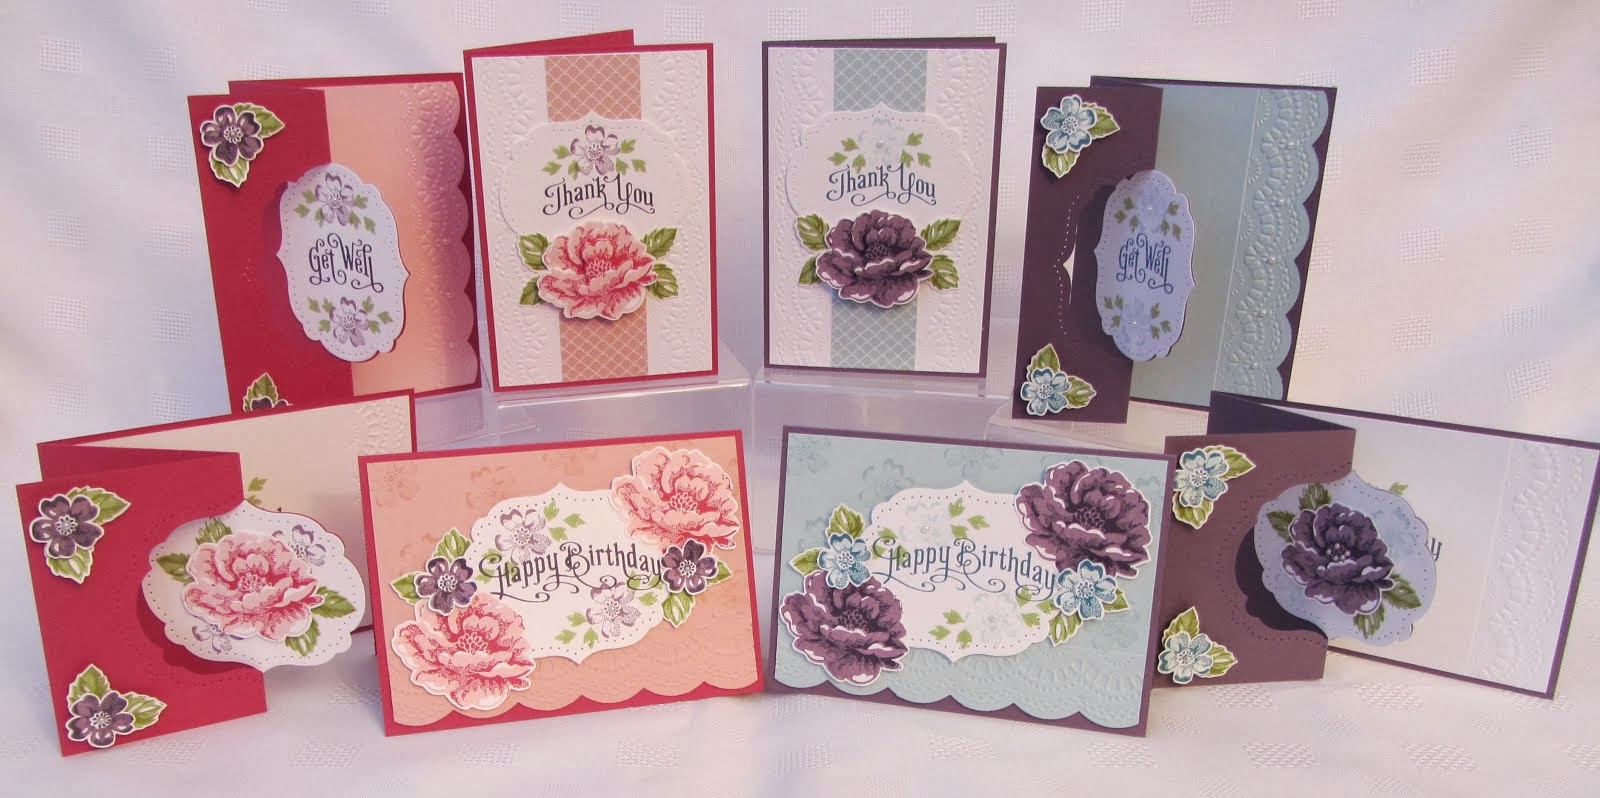
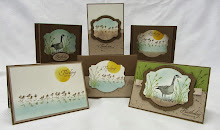
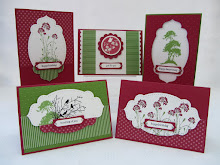
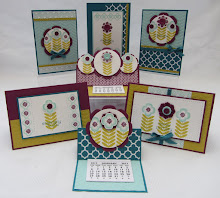
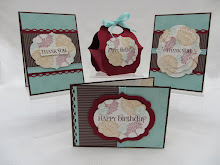
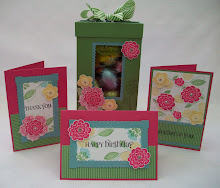
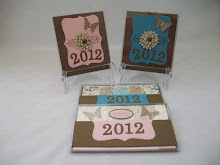
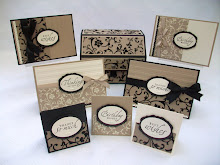
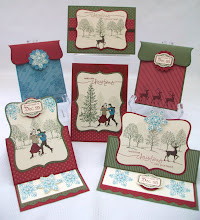
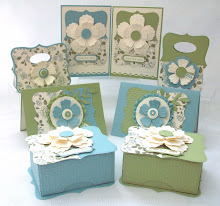
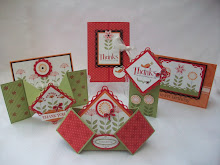
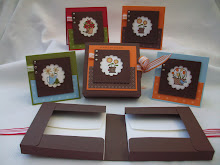
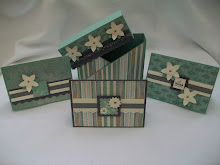
 The base card is Chocolate Chip and then a layer of Very Vanilla, which was cuttlebugged with the tiny mosiacs embossing folder. Before adding the layer, add a strip of chocolate chip ribbon flat. Add the sentiment on the bottom of the Very Vanilla, remember to leave a section blank when you cuttlebug the cardstock. Four scallop squares are added with pop up foam pads, the leaves were stamped in Creamy Caramel and Chocolate Chip.
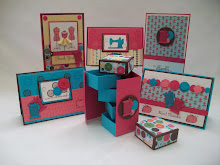
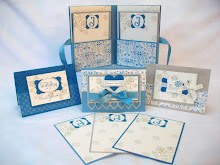
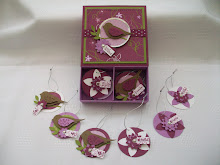
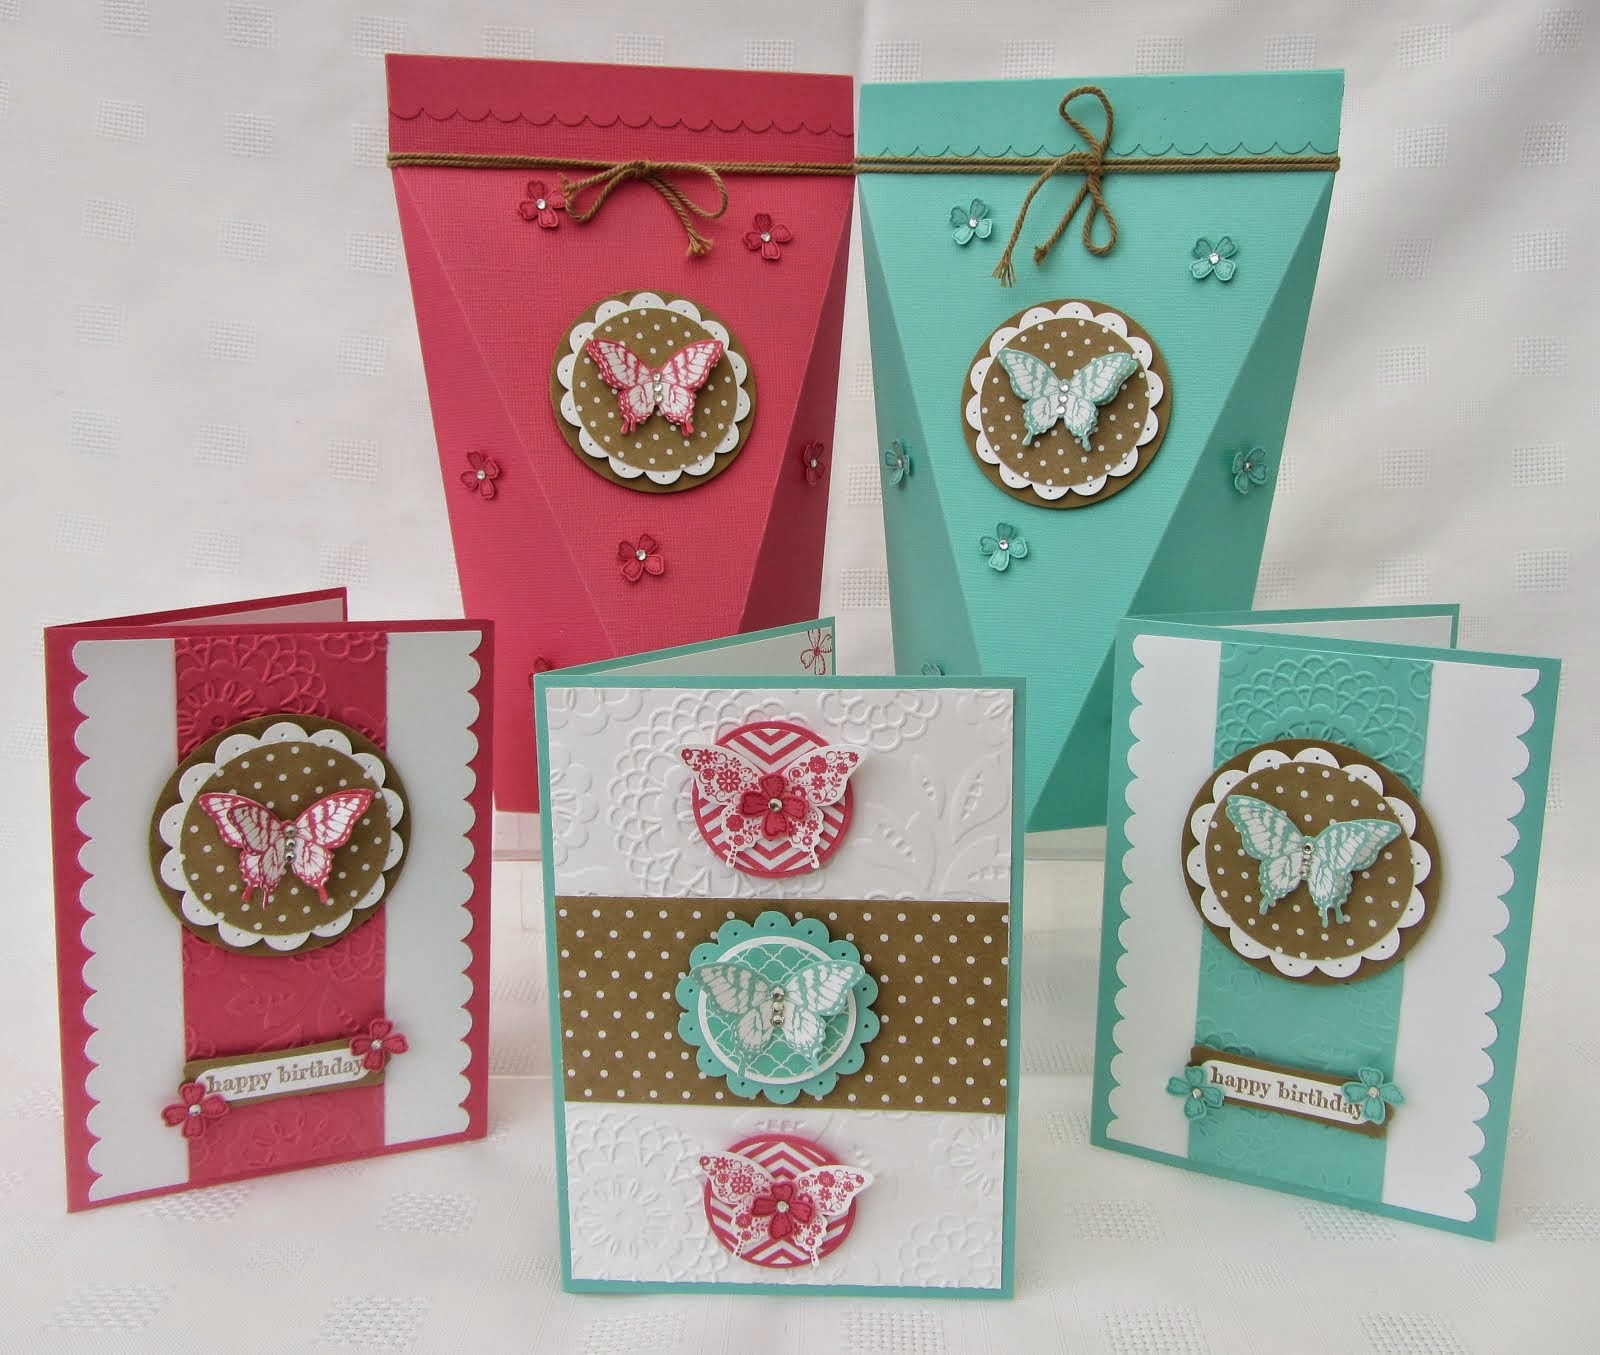
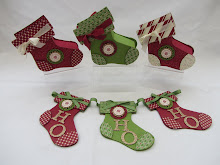
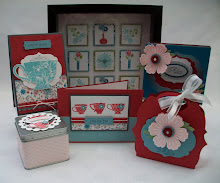
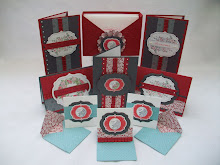
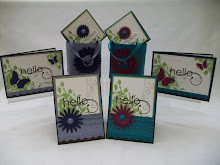
The bag is made from one whole sheet of A4 Close to Cocoa. Take the sheet of A4 with the short side running along the top, Score at 7/8", down either side. Turn the A4 cardstock with the longest side running along the top of the cutter, Score at 5 1/4" From each end. To make the handles, use the 1" circle punch to take out half a circle. There is a mark on the back of the punch where the half the circle line is. To make the scallop handles, first punch some Taken with Teal card with the 1" circle punch and then go over the hole with the scallop circle punch. I used 4 of these to make the handles. Add a layer of Taken with Teal, Chocolate Chip and designer paper. The ribbon was added as a stay put knot using two holes, with an extra strip of ribbon to go from the back on the second hole. Add the 3 Scallop squares to finish.
Check back later for more Pocket Silhouette cards,
Thanks for looking,
Jenny:-)xx
 Posted by


6 comments:
This was a lovely class to do - thank you Jenny. I loved all the cards and very useful to have a little bag to put them in. A good idea for my Sister-in-laws birthday next week (I'll have to make another set as I never give mine away). How you think up all these ideas is amazing. What I'm going to think up for your birthday next Tuesday (27 Jan) is going to take me ages as what can you do for someone who has done everything, mind you, you will love everything we come up with as you are that sort of person. Good luck Dorset stampers.
Mary xxx
I love all these cards - your blog has provided me with much inspiration when it comes to SU! products - thank you very much x
Great cards, thank you so much!!
Hugs from Italy
I like your Pocket Silhouetts Class set. The third card in particular is wonderful. Thanks for sharing. jmniffer
I'm with Steph - you have some beautiful projects with some beautiful cards - you really do provide so much inspiration - Fantastic blog - thank you for sharing
ADxxx
Hi Jenny, I completed the class you sent me and post it immediately on my blog . In particulare I liked a lot the mosaic embossing and the colour choice. Everything is so delicate! thanks a lot!
Post a Comment